UV Mapping: Plan Seams and Reduce Texture Distortion
Understand how a 3D surface becomes a useful 2D layout for painting and placing textures.
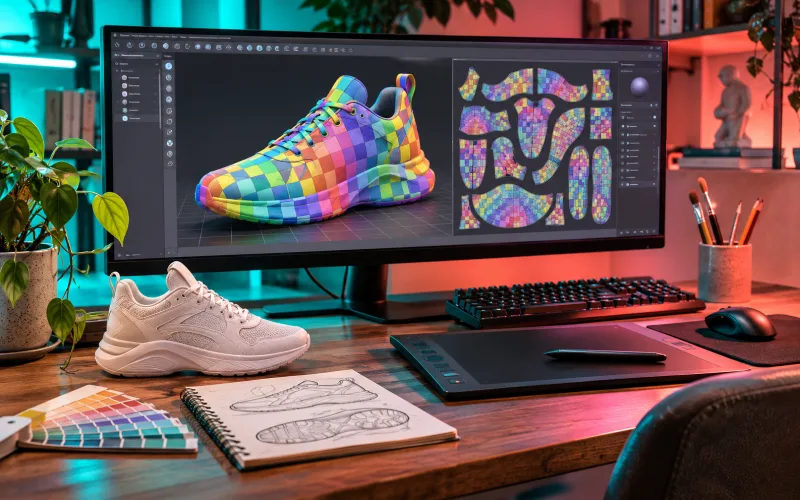
Understand the flattening problem
A UV layout maps points on a model to a flat texture space. Curved surfaces usually need cuts to flatten with manageable distortion. Start with a simple box or cylinder and compare how different seam choices affect the result before attempting a complex character or prop.
Choose seams deliberately
Place seams where they are less visible or where real material boundaries occur when possible. Consider how the object will be seen in the final shot. Keep important painted features away from awkward breaks, and avoid creating many tiny islands without a clear reason.
Use a checker pattern
Apply a regular checker image and inspect whether squares stretch or change size unexpectedly. Compare important surfaces and adjust the layout to keep useful detail consistent. Distortion may not be removable everywhere, so prioritise areas that carry prominent artwork or appear close to the camera.
Pack and test the layout
Leave appropriate space around islands for the intended texture workflow and test the result at the actual output resolution. Paint a few recognisable marks across important areas to check orientation and seams. Save the UV layout with the project so later texture revisions are easier to manage.
Explore related courses